Proper wall preparation before painting is crucial to achieve a flawless and long-lasting finish. Preparing surfaces prior to paint application is vital to ensure a clean and even surface, preventing future issues. In this article, we’ll explore the essential steps to prepare walls before painting, aiming for professional results in space renovation. The process of painting a room isn’t just about choosing the right color but also about adequately preparing the surfaces to be painted. Proper preparation guarantees optimal paint adhesion and a satisfactory final appearance. Let’s detail the indispensable steps for preparing walls before painting, ensuring a well-done and quality job.
Thorough Cleaning and Repair:
• Removal of debris: Meticulously clean every square inch of the wall, paying special attention to areas near windows or doors, where dirt tends to accumulate. Thorough cleaning ensures better paint adhesion and a more durable finish.
• Repair of cracks and holes: In addition to filling visible cracks and holes, meticulously inspect the entire surface to detect small fissures or less obvious imperfections. When correcting them, ensure the putty has completely dried before sanding to achieve a smooth and uniform base.
• Final surface cleaning: After sanding the repaired areas, re-clean the wall with a slightly damp cloth to remove any dust residue generated by sanding. This guarantees a completely clean surface ready for the next phase of the process.
Room Preparation:
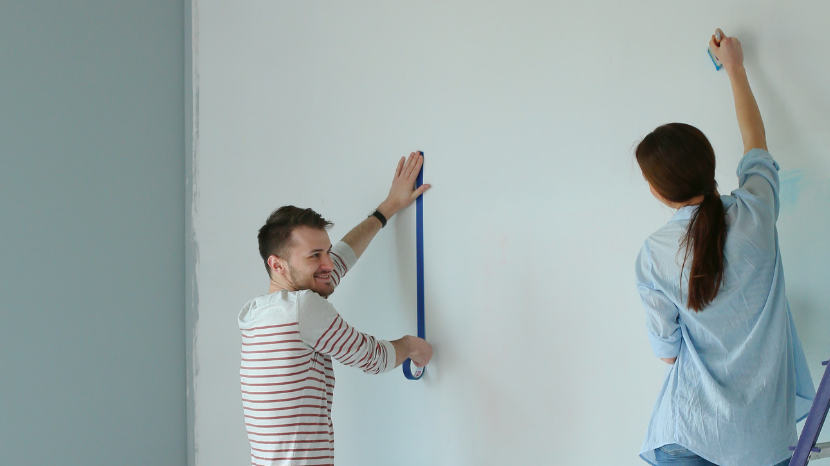
• Meticulous protection of sensitive areas: Ensure to carefully cover every piece of furniture and floor area that might be exposed to paint splatters. Use protective plastic and painter’s tape for complete protection and ensure the protective materials are securely in place.
• Removal of fixtures and elements: Disassemble elements that could hinder paint application, such as outlets, light switches, door or window handles. This facilitates access to hard-to-reach areas and ensures a uniform finish across the entire surface.
• Drying time for repair putty: Once the putty is applied to repair cracks and holes, it’s crucial to allow it to dry completely before starting to sand. This can take several hours or even a day, depending on the type and thickness of the putty used.
Priming and Sealing:
• Choosing the right primer: Selecting the correct primer is essential to improve paint adhesion and ensure a durable finish. Make sure to choose a primer that suits the wall type and the paint you’ll use.
• Meticulous sealing of joints and cracks: Ensure to apply sealing putty in every crack and joint precisely, using a spatula or suitable applicator for a uniform seal. Effective sealing helps prevent future paint leaks and keeps the surface in optimal condition.
• Primer drying time: After applying the primer, allow it to dry completely according to the manufacturer’s instructions before proceeding with the paint layer. Drying time may vary depending on the type of primer used and environmental conditions.
Sanding and Leveling:
• Thorough and gradual sanding: After applying the putty and primer, perform gentle and progressive sanding across the entire surface. Start with a coarser-grit sandpaper to remove irregularities and then move to a finer-grit for a smooth and uniform texture.
• Detailed visual inspection: Once the surface is sanded, conduct a visual inspection for areas that may require more attention. Ensure there are no imperfections or dust residues before moving to the next phase.
• Post-sanding cleaning: After sanding, clean the wall again with a damp cloth and make sure to remove any dust particles to achieve a perfectly prepared surface.
Care with tape and protection:
• Precise application of painter’s tape: When applying painter’s tape to protect areas like window frames, baseboards, or ceilings, ensure precise application. Press the tape firmly to prevent paint leakage and achieve sharp, clean edges.
• Full coverage of furniture and floors: Ensure protective materials fully cover furniture and the floor. If necessary, use additional sheets or reinforcements to prevent any possibility of accidental stains.
• Checking tape adhesion: Before starting to paint, check that the painter’s tape is correctly adhered and doesn’t have gaps or raised areas that could allow paint to seep through.
Final Inspection:
• Last preparation review: Before beginning the paint application, conduct a thorough final inspection of the entire prepared surface. Correct any imperfections, ensure there’s no dust or residue, and confirm everything is ready for paint application.
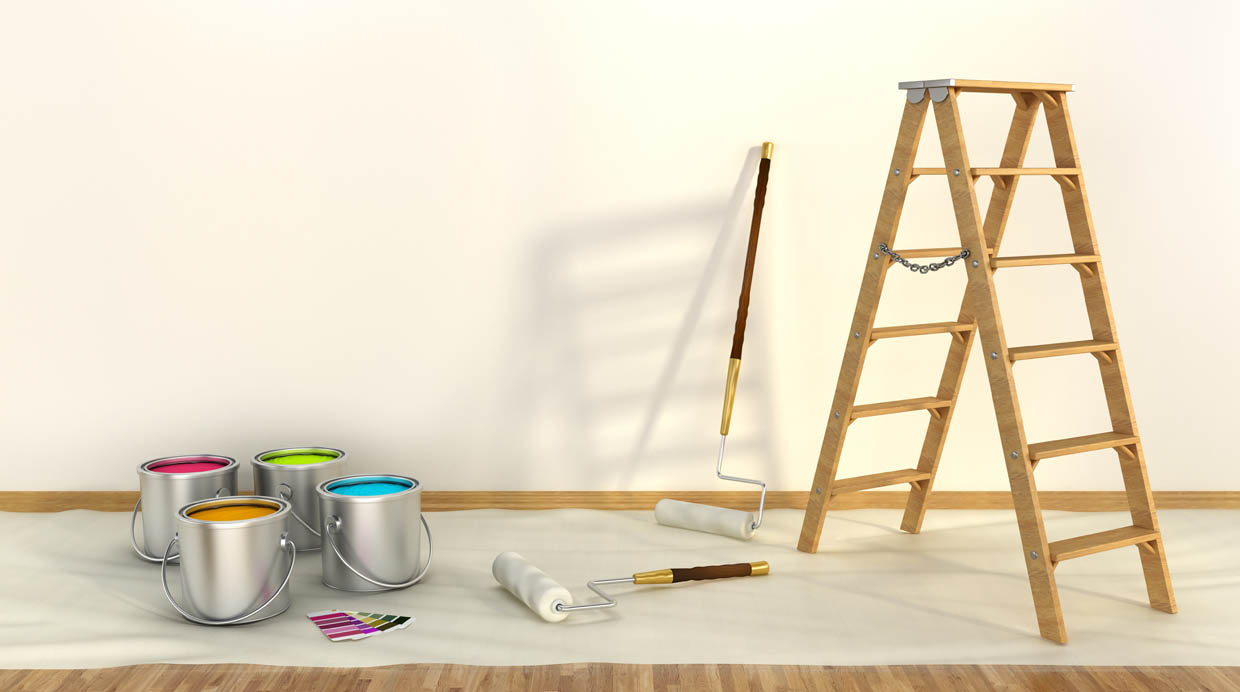
• Preparation of the work environment: Organize the materials and tools you’ll use during paint application to have them readily available. Preparing the work environment will allow you to carry out the task more efficiently and without interruptions.
• Attention to environmental conditions: Ensure that environmental conditions, such as temperature and humidity, are suitable for painting. These conditions can affect the drying process and the final quality of the paint.
Conclusion
Proper preparation before painting is essential to achieve professional and long-lasting results. Each step in the wall preparation process is crucial to ensure a clean, uniform surface ready for paint application. Dedication to these steps provides a solid foundation to achieve a flawless and satisfactory paint finish.


